How to Configure an SPF Record for Zendesk

Quick Answer
To configure an SPF record for Zendesk, add Zendesk’s authorized sending servers to your domain’s existing SPF TXT record. This helps verify outgoing emails, improves deliverability, and supports DMARC alignment to reduce spam issues.
Adding an SPF record for Zendesk helps verify that messages sent through the platform are authorized by your domain. Proper SPF configuration improves email delivery, supports DMARC alignment, and reduces the likelihood of messages being filtered as spam.
Steps to Create an SPF Record for Zendesk
Before making changes, ensure that your domain has a valid SPF record. If you do not already have one, create a new SPF entry for your domain and specify all mail sources that are allowed to send messages on your behalf.
During the setup process, you may choose to:
- Authorize mail servers defined by your MX records.
- Permit the domain’s existing IP address to send email.
- Add any specific IP addresses that should be trusted.
- Include additional services or hostnames that relay or deliver email for your organization.
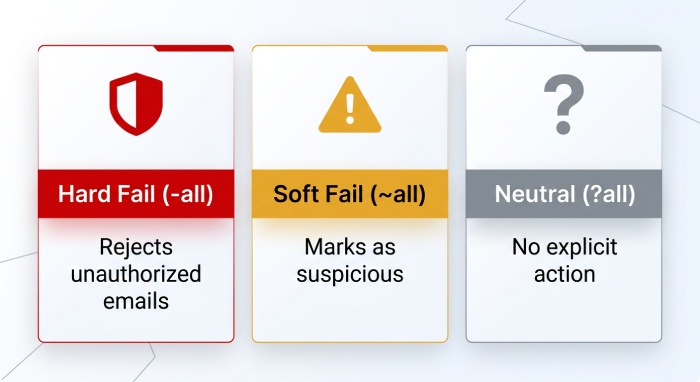
- Decide how receiving servers should handle messages that fail SPF checks. Typical options include:
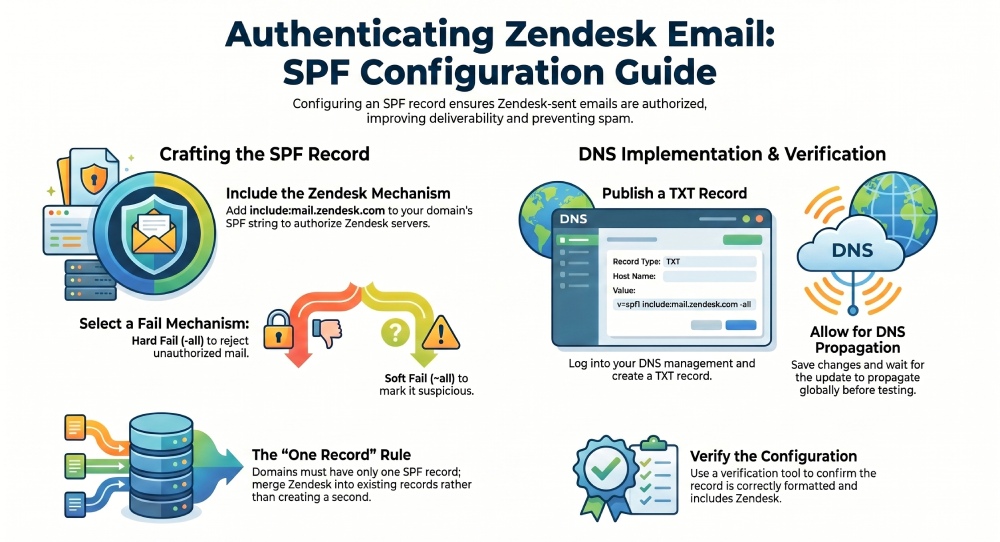
- Hard Fail (-all): unauthorized emails are rejected.
- Soft Fail (~all): messages are accepted but may be marked as suspicious.
- Neutral (?all): no explicit action is requested from the recipient server.
Zendesk SPF Include Mechanism
Zendesk requires an include statement in your SPF record. If you are creating a brand-new record for a domain that only uses Zendesk, the entry can look like this:
v=spf1 include:mail.zendesk.com -all`Updating an Existing SPF Record
If your domain already has an SPF record, simply add Zendesk to the existing entry instead of creating a second SPF record.
Current record:
v=spf1 include:spf.domain.com -all`Updated record:
v=spf1 include:spf.domain.com include:mail.zendesk.com -all`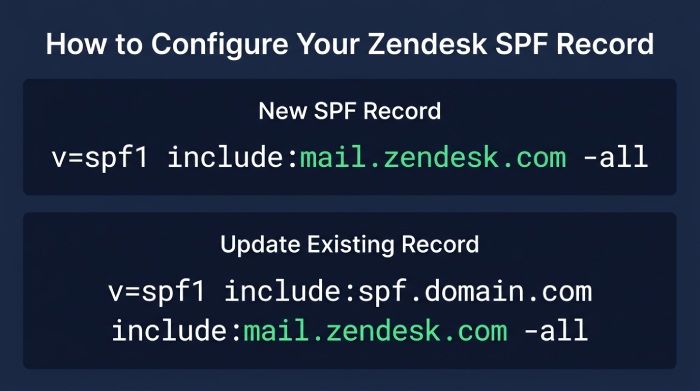
Publishing the SPF Record in DNS
After generating the correct SPF value, log in to the DNS management area for your domain and create or edit a TXT record.
Use the following information:
- Record Type: TXT
- Host Name:
_spf - Value: Your complete SPF string
Save the changes and allow time for DNS propagation.
Important Reminder
Your domain should have only one SPF record. Publishing multiple SPF records can cause validation problems and lead to SPF failures, negatively affecting email deliverability.
Verify Your Configuration
Once the DNS changes have propagated, check your SPF record to confirm that it is correctly formatted and includes Zendesk. Verifying the record can help identify configuration errors early and ensure that emails sent through Zendesk are authenticated successfully.
General Manager
Founder and General Manager of DuoCircle. Product strategy and commercial lead for DMARC Report's 2,000+ customer base.
LinkedIn Profile →Take control of your DMARC reports
Turn raw XML into actionable dashboards. Start free - no credit card required.