How to Recall Email in Outlook: Tips and Instructions for Success
In our increasingly digital world, email remains a staple of communication, whether for work or personal matters. But have you ever hit “send” only to realize seconds later that you forgot an attachment or made a mistake? It’s a common scenario that can lead to panic. Fortunately, if you’re using Outlook and find yourself in this situation, there’s hope: the email recall feature.
This tool can potentially help salvage your reputation by letting you take back that message before it’s read. Yet, as handy as it sounds, it’s not flawless and comes with some important rules. In this article, we’ll explore how to navigate the recall process effectively, what limitations you should be aware of, and ways to minimize mistakes in the first place. Let’s dive in!
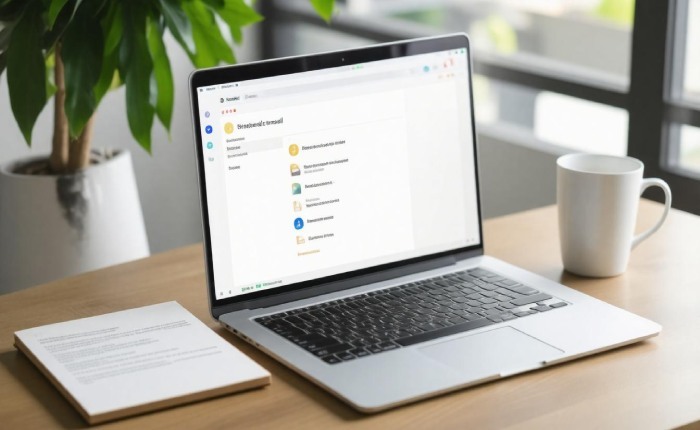
To recall an email in Outlook, navigate to your ‘Sent Items’ folder, select the message you wish to recall, click on ‘File’, then ‘Info’, and choose ‘Resend or Recall’. This allows you to either delete unread copies of the message or replace it with a new one, but remember that this feature only works if both you and the recipient are using Microsoft Exchange or Microsoft 365 within the same organization.
Introduction to Email Recall
The email recall function in Outlook is intended to be a safety net for moments of panic. Imagine you’ve just hit the send button, only to realize moments later that you mistakenly included the wrong attachment or misspelled someone’s name in an important message. With email recall, you can attempt to delete that email before the recipient has had a chance to read it, giving you a second chance at making a first impression.
However, it’s essential to recognize the conditions under which this feature operates. Recall functionality is only available for emails sent within organizations that utilize Microsoft Exchange or Microsoft 365, meaning both the sender and recipient must be on the same platform. This limits its accessibility for those with POP or IMAP accounts, which do not support this feature. Additionally, if the email has already been opened by the recipient, the recall attempt will fail, leaving you with just your original error.
“Outlook’s recall feature isn’t foolproof; it’s more like a lifeline thrown out in rough waters—it might just save you.”
The ability to recall an email provides a unique layer of control over digital communication. Traditionally rooted in office settings, where faxing mistakes could lead to misunderstandings and chaos, this feature serves as a modern response to the urgency for correction in our fast-paced work environments. Instead of merely hoping for the best after sending a tricky email, users can actively seek resolution through this functionality.

After initiating a recall, users have options that allow them not only to delete unread copies but also to replace them with corrected versions. This can be especially handy when trying to correct errors without going through the tedious task of drafting an entirely new message from scratch. Those who wish to receive notifications regarding whether their recall attempts succeed will find it reassuring—an option that enhances transparency regarding interactions.
Recognizing these parameters not only helps set realistic expectations about the effectiveness of this tool but also prepares users for best practices when utilizing Outlook’s email recall function. Now, let’s explore how to navigate this feature step-by-step for optimal results.
Detailed Steps for Recall in Outlook
The email recall process in Outlook is straightforward but requires adherence to precise steps to avoid failure. The journey begins in your “Sent Items” folder, where you’ll locate the email you wish to retract. Simply click on the “Sent Items” folder in your navigation pane. There, you’ll see a list of messages you’ve previously sent. Remember, this step is critical because if you can’t find the right email, the rest of the process will be futile.
Now that you’ve located the email you’re looking for, it’s time to initiate the recall.
To kick off the recall process, double-click the desired email to open it fully. Once opened, navigate to the “File” menu at the top of Outlook’s interface. In this section, select “Info,” and then look for the option labeled “Resend or Recall.” Here lies the magic ingredient—clicking on “Recall This Message” will set everything in motion. At this point, take a moment to reflect: are you sure you want to proceed? If there’s any hesitation, now is your chance to pause and reconsider.
Having initiated the recall, let’s choose the appropriate option that suits your needs.
When you opt to recall your message, a dialog box will appear with two important choices: “Delete unread copies of this message” or “Delete unread copies and replace with a new message.” If you’ve realized that your originally sent email contained an error but would like to send a corrected version immediately, then select the second option. Otherwise, if you’re simply wishing to remove the original message without sending anything new, just go with the first choice.
It’s essential to think about which option aligns best with your intention before proceeding further; after all, proper decision-making here contributes greatly to successful communication.
Lastly but certainly not least, monitoring your recall attempt is crucial for understanding its effectiveness.
After making your selection and finalizing the recall action, it’s important to check a box that allows you to receive notifications regarding the success or failure of your attempt for each recipient. By doing this, you increase transparency about how well your recall was received across varying users who might fall into different email system categories. Keep an eye on your inbox following the recall initiation so that you can promptly respond should any issues arise.
This understanding of how to execute an email recall seamlessly sets you up for tackling potential challenges that may arise during this process.
Common Issues and Limitations
The email recall feature in Outlook, while convenient, carries significant restrictions that users must navigate. The most critical limitation arises from the recipient’s actions: if they have already opened the email, your attempt to recall it will fail. This creates a frustrating situation, especially when clarity and precision in communication are paramount. Imagine sending an important email only to find that moments later, you’ve made an error or inadvertently shared sensitive information—if the recipient reads it first, your chance at a successful recall goes down the drain.
It’s akin to trying to take back a thrown snowball mid-flight. You can shout “Wait!” all you want, but once that snowball is on its way, nothing can stop its journey. Understanding this reality helps users approach email communications with more caution.
Another crucial factor involves the recipient’s settings. Recall relies on both parties using Microsoft Exchange within their organization. If your intended recipient is utilizing a different email service like Gmail or Yahoo, the recall functionality simply won’t operate. Consequently, this means that despite your best efforts, you may find yourself limited by external factors beyond your control.

As we explore additional common issues, it becomes evident that public folders present yet another hurdle.
When emails are sent to public folders, they’re essentially placed outside the purview of Outlook’s recall capabilities. Public folders are designed for broader access and typically do not permit the same kinds of retroactive adjustments that regular emails do. This poses challenges especially in collaborative settings where multiple users might access shared communication spheres.
Custom rules and filters also add layers of complexity to the email recall process. Users often configure their Outlook accounts with specific rules—filters that automatically sort incoming or outgoing messages based on certain criteria. These filters may inadvertently prevent a recall from executing effectively, locking you out of any content adjustment despite timely attempts to rectify your message.
Navigating these various pitfalls can be daunting; however, awareness of these limitations reinforces the importance of crafting clear and precise emails from the onset.
Consider practical strategies beyond relying solely on a recall function: confirming recipient addresses before hitting send or taking extra moments to double-check content can mitigate potential setbacks caused by these limitations. Taking control over initial communications often proves more beneficial than trying to recover them after they’ve been dispatched into cyberspace.
By understanding these obstacles and refining our approach to email communications, we open up avenues for effective management of digital correspondence. Next, we’ll look into other viable options for addressing miscommunication in email exchanges.
Alternatives to Email Recall
One of the most straightforward and effective ways to rectify a sent email is by sending a follow-up email. This option not only corrects information but also re-establishes clarity and trust with the recipient. When you’ve made an error, whether it’s a typo or an incorrect fact, addressing it promptly shows professionalism and respect for your correspondent’s time.
Imagine you sent out a proposal with the wrong figures. Instead of fretting about the recall process, craft a brief follow-up email acknowledging the mistake and providing the accurate numbers. This direct approach resolves confusion and promotes transparency, letting your recipient know that you take accountability for your communications.

As we think about communication strategies, another great option lies within the settings of Outlook itself.
1. Send a Follow-Up Email
When bad news arises from a missed detail in your original message, sending a follow-up email is practical and can be executed quickly. A simple note can read:
Subject: Correction on Previous Message
In the body, you might write something like, “I apologize for any confusion caused by my previous email. Here are the corrected figures…” This acknowledges the mistake while proactively offering solutions.
Additionally, using this approach strengthens relationships through honest communication and ensures that all parties remain on the same page.
Another way to prevent future errors from becoming a headache involves maximizing Outlook’s features.
2. Delay Delivery Option
The “Delay Delivery” option in Outlook is an underutilized gem that saves you from hasty mistakes before they reach your recipients’ inboxes. By scheduling your emails to send at a later time, you grant yourself ample opportunity to review your messages before they go live.
To set this up in Outlook, navigate to ‘Options’, select ‘Delay Delivery,’ and specify your timeframe. For example, choose to schedule it for an hour after hitting send. This buffer acts as a failsafe against rushed decisions or overlooked mistakes, allowing for an extra moment of second-guessing.
Once you’ve set this up, make sure to use it! This simple trick not only boosts your confidence but enables clearer communication on your end while maintaining professionalism during those challenging moments when errors arise.
With these alternatives available, you can effectively address any issues related to email recalls while enhancing your overall strategy in Outlook.

Using these tools can provide you with more control over your emails, setting up stronger safeguards against potential mishaps in the future makes it easier to communicate effectively without stress. Now let’s explore ways to safeguard against errors before they occur altogether.
Preventing Future Email Mistakes
One of the most effective ways to avoid sending incorrect or poorly worded emails is by implementing a simple checklist for every outgoing message. This method not only saves you from potential embarrassment but also increases your professionalism in communications.
Imagine sitting at your desk, fingers poised over the keyboard, ready to hit send. Instead of rushing into it, take a moment to pause and consult your checklist like a seasoned pilot before takeoff—this habit can make all the difference in the clarity and accuracy of your communication.
The Email Checklist
- Confirm the recipient’s email address: It may seem straightforward, but verifying that the correct person is receiving your email is crucial. With 70% of email users having sent an email to the wrong recipient at least once, this step is non-negotiable. A quick glance might save you from an awkward situation later.
- Review the subject line and message content: The subject line is often your first impression, so ensure it’s reflective of your message’s intent. Spend time reading through the body of your email as well; one careless error could lead to misinterpretation.
- Attach any necessary files: Ever forgotten to attach a file? You’re not alone! Incorporating a reminder about attachments can prevent those “oops” moments where you have to follow up with a second email asking if anyone received what you meant to send.
- Double-check for spelling or grammatical errors: In a world where we communicate constantly via text, it’s easy to overlook typos. Spelling mistakes can undermine your credibility and distract from your message. Tools like Grammarly can assist in catching errors before you hit send.
By making this checklist routine, you can confidently hit send knowing that you’ve minimized the chance for error and enhanced the overall quality of your correspondence. Utilizing pre-send checklists improves accuracy and instills a habit of careful review among users, ultimately fostering better communication standards within teams and organizations alike.
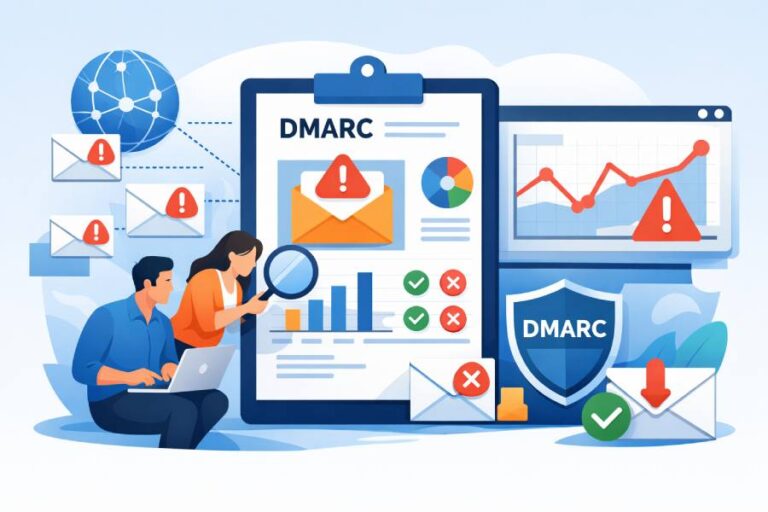
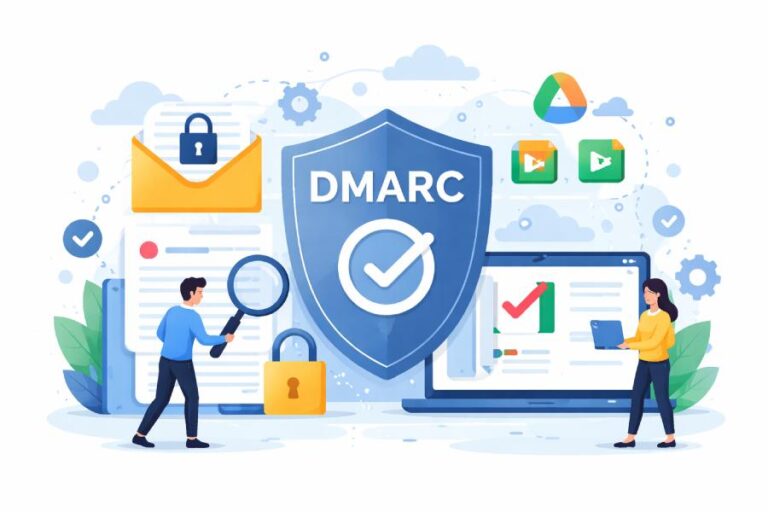
In addition to personal checks and Outlook’s built-in tools, implementing SPF, DKIM, and DMARC can strengthen your email’s credibility, helping ensure your messages are authenticated and protected from spoofing or delivery issues.
Beyond checklists, consider implementing tools or systems that further aid in minimizing email mistakes. As we explore more sophisticated strategies, you’ll discover how these enhancements can revolutionize your emailing experience.
Advanced Email Management Tips
Effective email management goes beyond simply responding to messages; it involves creating a system that works for you. One powerful approach is to categorize your emails. By using color-coded categories in Outlook, you can quickly identify which messages require immediate attention—whether they’re urgent tasks, important follow-ups, or simply need further research. This visual cue not only saves time but also reduces cognitive load; instead of sifting through endless lines of text, you have a clear roadmap to navigate your inbox.
For instance, consider assigning red for urgent tasks, blue for informational messages, and green for items that await future action. This way, when you glance at your inbox, you aren’t overwhelmed by volume; instead, you’re presented with a structured overview that guides your next steps without the chaos.
However, categorizing alone isn’t always sufficient to streamline daily communication. Implementing templates can truly save you hours each week.
The beauty of templates lies in their ability to standardize communications and remove repetitive tasks from your plate. If you frequently send similar emails—a request for information or an acknowledgment of received documents—you can create a template in Outlook. Draft these messages once and reuse them whenever necessary, making small edits as needed. This not only speeds up your response time but also minimizes errors since the core message remains consistent and precise.
Beyond templates, automation can be a game changer in your email management strategy.
Setting up automation rules allows Outlook to manage incoming emails according to parameters you establish. For example, if you’re receiving a barrage of marketing emails or project notifications that distract from your primary work, you can set a rule to direct those emails straight into specific folders without cluttering your main inbox. You might even decide that emails containing certain keywords—like “meeting agenda” or “deadline”—should receive immediate attention by routing them straight to a priority folder.
Take this eureka moment! Automating these processes frees up valuable mental space, allowing you to focus on critical tasks instead of getting bogged down by unwanted noise in your inbox.
By implementing these advanced strategies—categorizing your emails effectively, utilizing templates for consistency, and harnessing the power of automation—you’ll not only become more organized but also foster an environment that promotes productivity and efficiency amidst daily email swells.
Incorporating these practices into your email management routine can transform how you handle communications and ultimately lead to greater success in your daily tasks.