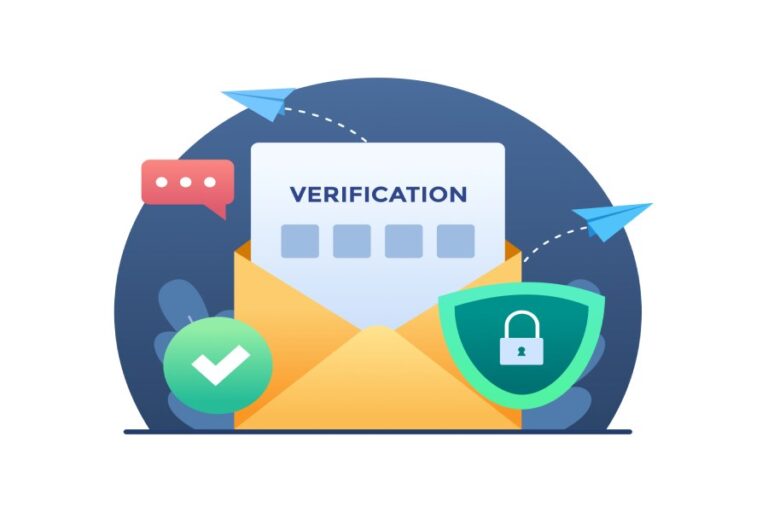
Configuring WP Mail SMTP for Authenticated WordPress Emails
If you run a website based on WordPress and rely on it to send emails — user sign-up confirmations, notifications, password resets, newsletters, or contact-form replies — then you probably know how finicky email deliverability can be. Out-of-the-box WordPress typically uses the PHP mail() function, which often results in un-authenticated emails that get flagged as spam or fail authentication checks like SPF/DKIM/DMARC.
In this article, I’ll walk you through how to set up the popular WP Mail SMTP plugin so your WordPress-generated emails are authenticated and aligned with your domain. The setup works for several major mail providers (e.g. Brevo — formerly Sendinblue, SendGrid, and Google/Gmail), helping ensure better deliverability, lower spam rates, and proper compliance with modern email authentication standards.
Why WP Mail SMTP — and Why It Matters
WordPress by itself is a fantastic platform — widely used, flexible, and supported by a rich ecosystem of themes and plugins. But when dealing with automatic email sending, it has a critical shortcoming: by default it dispatches messages via PHP’s mail() function. That method generally does not add proper email authentication metadata (SPF, DKIM, DMARC alignment), meaning:
- The “From” address and the technical “return path” (envelope sender) might diverge.
- The email might appear to originate from your host (e.g. wpengine.com) rather than your own domain.
- As a result, SPF and/or DKIM checks can fail — triggering spam filters or even outright rejection.
That’s where WP Mail SMTP comes in. By routing outgoing messages through a real SMTP server — authenticated with credentials — you gain far better control over sender identity, and you can align SPF/DKIM/DMARC properly, increasing the chances your messages land safely in the recipient’s inbox.
Overview: What You’ll Get
By following the setup instructions below, you will:
- Use SMTP instead of PHP mail(), ensuring proper authentication.
- Be able to choose from several trusted “mailers” (Brevo, SendGrid, Gmail, etc.).
- Configure a valid “From” email on your own domain (not generic Gmail or Yahoo).
- Force that From email (and optionally From name) so all site-generated mail shares the same identity.
- Send a test email to verify everything works properly before going live.

Step-by-Step: Setting Up WP Mail SMTP
1. Install & Activate the Plugin
- Log in to your WordPress admin dashboard.
- Go to Plugins → Add New.
- Search for “WP Mail SMTP” (by WPForms) in the plugin directory.
- Click Install Now, then Activate.
- Upon activation, if the setup wizard opens, you can proceed; otherwise navigate manually to the plugin’s settings page.
Once installed and activated, you’re ready to configure the mailer details.
2. Configure General Settings (“From Email”, “From Name”, Return Path)
Within the plugin settings, you’ll need to fill in these fields carefully:
- From Email: Use a legitimate email address on your own domain (e.g. you@yourdomain.com). Avoid free third-party addresses (like Gmail, Yahoo, etc.) — these often fail authentication checks or reduce deliverability.
- Force From Email: Tick this option to ensure that all emails from your site use this same “From” address consistently. This avoids confusion and reduces chances of misalignment.
- From Name: Set the name recipients will see (e.g. “Your Company Name”, “Info Desk”, etc.).
- Force From Name: If checked, forces all outgoing emails to show the name you defined.
- Return Path: This defines where bounce or non-delivery notifications go. In many SMTP setups, this must align with your sending domain for SPF compliance. Note: depending on your mailer (some like Brevo), this field might not appear.
Once these are filled, you’re ready to pick a mailer.
3. Choose & Configure Your Mailer
WP Mail SMTP supports multiple mailer options. Below are configurations for three common providers: Brevo, Google (Gmail), and SendGrid.
A. Brevo (formerly Sendinblue)
If you choose Brevo:
- In the plugin’s Mailer setting, select “Brevo / Sendinblue.”
- You must have already authenticated and verified your sending domain or subdomain in Brevo. If not, complete that step first following Brevo’s own documentation.
- Enter the API Key provided by Brevo. You can obtain this from your Brevo account dashboard or as directed via the link from WP Mail SMTP.
- Specify the Sending Domain (or subdomain) that you configured and verified in Brevo.
- Save settings.
Once saved, your WordPress site will send mail via Brevo’s SMTP infrastructure, benefiting from their deliverability optimizations.

B. Google (Gmail / Google Workspace)
If you prefer to send email through Gmail/Google, here’s how to configure:
- In WP Mail SMTP settings, choose “Google” as the mailer.
- Open your account in Google Cloud Console. If prompted, accept the Terms of Service.
- Choose an existing project or create a new one (e.g. “Web client 1”).
- Enable the Gmail API for that project.
- Go to “Create Credentials” → choose “OAuth Client ID” → application type: “Web application.”
- Under “Authorized Redirect URIs,” add the URI provided by WP Mail SMTP (typically: https://connect.wpmailsmtp.com/google/).
- After creation, you’ll get Client ID and Client Secret — copy them exactly (no extra spaces) into the corresponding fields in WP Mail SMTP.
- Save settings. Then, at the bottom of WP Mail SMTP settings, click the “Allow plugin to send emails via your Google account” button. You’ll be taken to Google’s OAuth consent screen — grant permission so WordPress can send via Gmail.
Once authorized, your WordPress emails will be sent through Gmail’s SMTP servers, leveraging Google’s authentication, security, and reliability.
C. SendGrid
For SendGrid (another popular bulk-mail service):
- In WP Mail SMTP, choose “SendGrid” as the mailer.
- In your SendGrid account, generate an API Key (typically under Settings → API Keys). Copy it into WP Mail SMTP’s API Key field.
- Add your verified sending domain/subdomain.
- Save settings.
This routes all outgoing WordPress emails via SendGrid — a good choice if you expect to send many emails, such as newsletters or transactional emails at scale.
4. Send a Test Email
Before relying on the new SMTP configuration in production, always send a test email:
- In WordPress admin, go to WP Mail SMTP → Tools (or similar).
- Enter a valid recipient address (ideally another inbox you control).
- Click Send.
- Check the recipient inbox (and spam/junk folder) to ensure delivery.
- Also check email headers for SPF, DKIM, and return-path alignment to confirm authentication is functioning.
If the test email arrives cleanly and passes authentication, you’re all set.

Choosing the Right Mailer: What to Consider
Each mailer option comes with trade-offs. Here’s how to pick depending on your needs:
- Bulk emailing / newsletters / high volume → Choose bulk-focused ESPs like Brevo or SendGrid. They’re optimized for large throughput, provide dedicated sending infrastructure, and handle deliverability at scale.
- Low-volume / transactional / site-notifications → Gmail (or Google Workspace) is often enough. It’s easy to set up, secure, and reliable.
- Domain alignment matters → Always use your domain’s own email (not generic providers). This helps SPF/DKIM/DMARC pass and builds sender reputation.
- Cost vs features → ESPs may offer free tiers but scale-up often costs money. Gmail is free/familiar but limited in daily send volumes (making it less ideal for high-volume campaigns).
Why This Matters for DMARC (And Email Security)
As the internet’s email ecosystem evolves, mail receiver services are getting stricter about legitimate identity and authentication. Misconfigured senders — or those using default PHP mail without proper headers — are likely to see more failures:
- Emails may land in spam, or never arrive.
- Domains may get flagged for suspicious sending behavior.
- Users may miss crucial communication (password resets, order confirmations, etc.).
By using WP Mail SMTP to send authenticated, aligned email, you’re making a proactive step to protect your domain’s reputation and ensure reliable delivery. Especially if you use an ESP that supports DKIM and SPF alignment, your mails are much less likely to be flagged.
In short: better deliverability + better security + better compliance.
Common Pitfalls & What to Watch Out For
- Using a third-party free email (Gmail/Outlook/Hotmail): If you use a generic free email address (not on your domain), you lose domain alignment and increase risk of spam/failure. Always prefer a domain-based address.
- Not verifying your domain in ESP: If you select an ESP (Brevo, SendGrid) but haven’t verified the sending domain/subdomain in their dashboard — authentication will fail.
- Mismatched Return Path / Envelope Sender: If return path doesn’t match your sending domain, SPF alignment may break even if DKIM is set up.
- Overlooking “force from email/name”: Without forcing, different parts of WordPress or plugins might send emails using different “From” addresses, fragmenting sender reputation.
- Rate limits with Gmail: Gmail (free or Workspace) imposes limits — fine for occasional transactional emails, less so for newsletters or high-volume contact lists.
- Not testing after setup: Always send a test mail first — and inspect its headers for SPF/DKIM/DMARC compliance.

Final Thoughts
Switching from WordPress’s default mailing function to a configured SMTP setup via WP Mail SMTP may seem like a small technical step — but in the context of email security and deliverability, it’s a big deal. For any serious WordPress site — whether a blog, an online store, or a membership portal — ensuring emails go out properly, reliably, and securely is essential.
If you follow the steps above and choose the right mailer for your needs, you’ll significantly improve the reliability of your site’s email delivery. And if you also use the services of a security-oriented provider like DMARCReport or similar — adopting SPF, DKIM, and DMARC properly — you’ll be aligning with best practices and safeguarding your domain’s reputation.