How to set up DKIM in Google Workspace: A guide

It is easy to think that once an email leaves your server, it will reach the recipient safely, exactly how it was sent. This usually does not happen because cyberattackers have developed ways to intercept your outgoing emails, modify their content, or impersonate your domain before it reaches the recipient.
Since your outgoing email passes through various servers before it even reaches its destination, Email Service Providers (ESPs) simply cannot trust the sender information that appears in the message header. When that happens consistently, your emails may be flagged as suspicious, sent to spam, or rejected altogether.
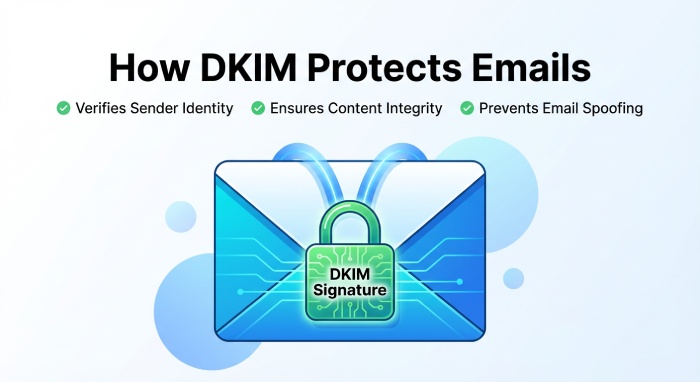
To avoid this, it is important that you configure your domain with the right authentication protocols, such as DomainKeys Identified Mail (DKIM). When the email reaches the recipient’s server, that server checks this signature to confirm that the email really came from your domain and that the message wasn’t changed while it was traveling across the internet.
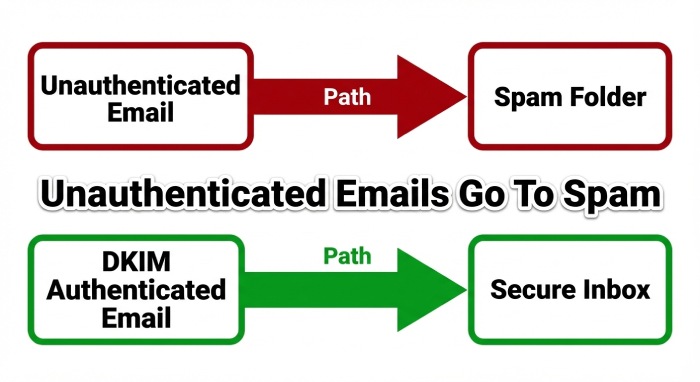
Whether you send emails from your own mail server or through platforms like Google Workspace, DKIM helps receiving servers trust that the email is legitimate.
Here’s how you can configure DKIM for your domain.
What do you need to set up DKIM in Google Workspace?
Before you implement DKIM for your email-sending domain, ensure the following foundational requirements are in place. If these prerequisites are not properly configured, the DKIM setup process may fail, or the authentication may not work as expected, leading to poor email deliverability or authentication failures at the recipient’s server.
Here’s what you should check before starting the configuration process:
Ensure that your domain is verified in Google Workspace
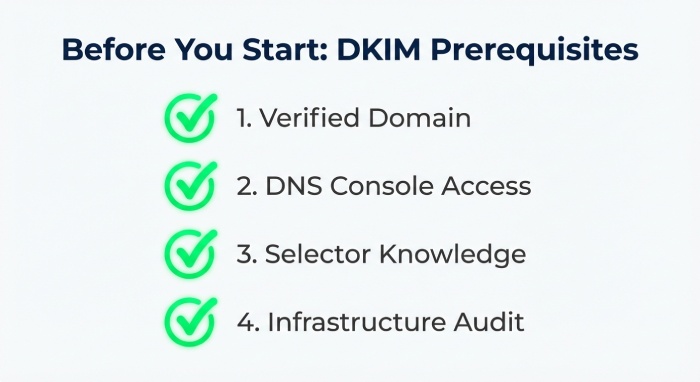
To enable DKIM, your domain must first be verified in Google Workspace. Domain verification confirms that you own and control the domain that will be used to send emails, allowing Google to generate DKIM keys and apply signatures to outgoing messages.
Have access to your domain’s DNS settings
When you set up DKIM for your domain, you need to add a public key to your domain’s DNS records as a TXT record. To be able to update or publish this record, you must have administrative access to your domain’s DNS management console through your domain registrar or DNS hosting provider. Once you have added this record, the receiving servers will be able to retrieve the public key from DNS to verify the DKIM signature attached to your outgoing emails.
Understand DKIM key selectors and TXT record values
DKIM records include a selector and a public key. The selector acts as an identifier that helps receiving mail servers locate the correct DKIM key in your DNS records. Having a basic understanding of how selectors and TXT record values work will help ensure that the DKIM record is added correctly.
Be familiar with your organization’s email infrastructure
If your organization sends emails through multiple platforms and services, such as on-premises mail servers, marketing platforms, or third-party services alongside Google Workspace, it is important to ensure that DKIM configurations across these services do not conflict.
What should you do to configure DKIM for Google Workspace?
Once you have met all the required prerequisites, you can move on to configuring DKIM in Google Admin Console.
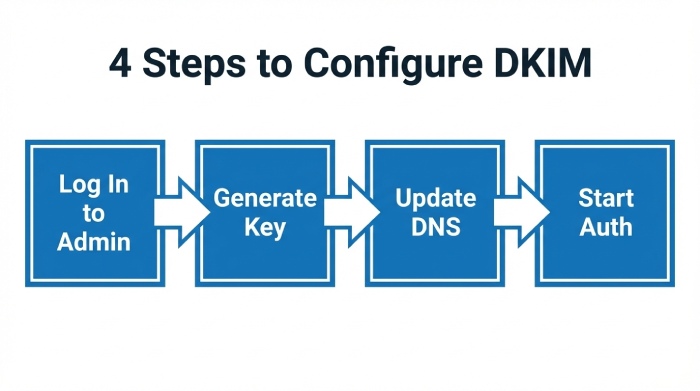
Here’s how you should go about it:
Sign in to your Google Admin Console
Head over to admin.google.com and log in using your admin account. Since only administrators have permission to access and modify email authentication settings, such as DKIM, you cannot sign in from your generic account.
Go to Gmail settings
After you log in to the Admin Console, the next step is to find the DKIM settings for Gmail.
From the Admin Console homepage, go to:
Apps → Google Workspace → Gmail → Authenticate Email
This is where you can manage DKIM settings for your domain. If you have multiple domains in Google Workspace, you can choose the specific domain for which you want to configure DKIM.
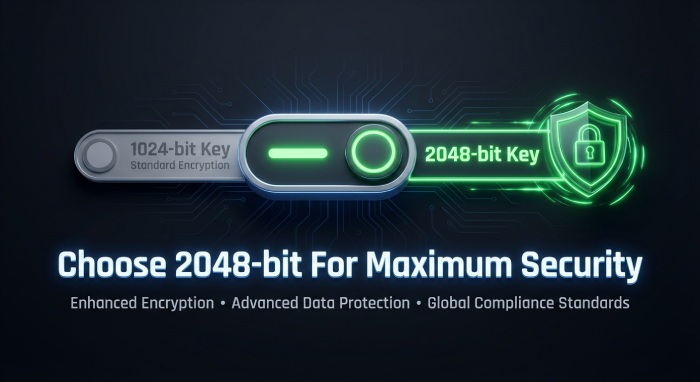
Generate a DKIM key
Next, generate the DKIM key that Gmail will use to sign your outgoing emails. Here, open the Generate New Record menu, choose the appropriate key length (it is recommended that you select 2048-bit for better security), enter a selector prefix (for example, google, mail, or gw), and finally, click Generate.
Add the DKIM record to your DNS
Copy the TXT record details generated by Google. Then log in to your DNS provider and add a new TXT record using the hostname and value provided by Google.
After saving the record, wait for the DNS changes to update. This may take some time, depending on your DNS provider.

Activate DKIM signing
The final step is to activate DKIM signing. For this, return to the Google Admin Console. Head over to the Authenticate Email settings and click on Start Authentication. Setting up DKIM in Google Workspace strengthens email security by authenticating your messages, complementing SPF and DMARC protocols to prevent spoofing and phishing attacks.
Need help configuring DKIM for Google Workspace? We’re here to help! Reach out to us to get started.