
Setting DKIM for Microsoft 365 domain

Microsoft highly encourages its users to deploy DKIM in tandem with SPF and DMARC for holistic and efficient protection against phishing and spoofing of emails. DKIM digitally signs all outgoing emails, preventing malicious actors from altering messages in transit. When properly configured, DKIM adds a cryptographic signature to outgoing emails, which helps recipients to verify their authenticity.
In this guide, we’ll walk you through the step-by-step process of enabling DKIM for your Microsoft 365 domain to enhance email security, improve deliverability, and strengthen your domain’s reputation. Let’s get started!
DKIM for MOERA users
If you are a Microsoft Online Email Routing Address or MOERA domain user, then you don’t have to worry about DKIM configurations. This is because Microsoft itself takes care of MOERA domains using 2048-bit strong public and private keys. All the outgoing emails are signed using this cryptographically secured key pair that helps the receiving server verify if someone has tampered with the email content in transit.
DKIM for custom domain users
Microsoft automatically signs outgoing emails, but you still have to ensure the following for optimum protection against email-based menaces-
- For DKIM authentication to succeed under DMARC, the domain used to sign the email must match the domain in the From address.
- When using third-party email providers (such as bulk mailing services), configure DKIM on a subdomain instead of the primary domain. This helps safeguard your main domain’s reputation from potential issues with these services. Keep in mind that each domain requires a separate DKIM setup.
- Avoid publishing DKIM records for unused or parked domains, as this could allow attackers to exploit them for spoofed emails that pass DKIM validation.

- For comprehensive email security, implement SPF and DMARC alongside DKIM to create a robust authentication framework for your domain.
Configuring DKIM signing in Microsoft 365
If you enable DKIM signing for a custom domain, the signing process switches from using the .onmicrosoft domain to the custom domain. For this process, you can use a domain or subdomain.
Before proceeding with the steps, ensure that your custom domain or subdomain appears in the DKIM tab of the email authentication settings page.
Verify DKIM Settings in the Details Flyout
When you access the details flyout, check for the following:
- The ‘Sign messages for this domain with DKIM signatures’ toggle should be set to Disabled.
- The ‘Status’ should display ‘Not signing DKIM signatures for this domain.’
- The ‘Create DKIM keys’ option should not be visible.
- The ‘Rotate DKIM keys’ option should be present but grayed out.
If everything matches, proceed with the next steps.
Enable DKIM in the Defender Portal
- Open the Defender portal.
- Navigate to Email & collaboration > Policies & rules > Threat policies > Email Authentication Settings.
- Click on the DKIM tab and select the custom domain you want to configure by clicking anywhere in the row (except the checkbox).
- In the details flyout, locate the ‘Sign messages for this domain with DKIM signatures’ toggle, which is currently set to ‘Disabled.’ Also, take note of the ‘Last checked date.’
- An error message will appear, displaying the values needed to create two CNAME records at your domain registrar.
Then, you need to create the following CNAME records for your domain.
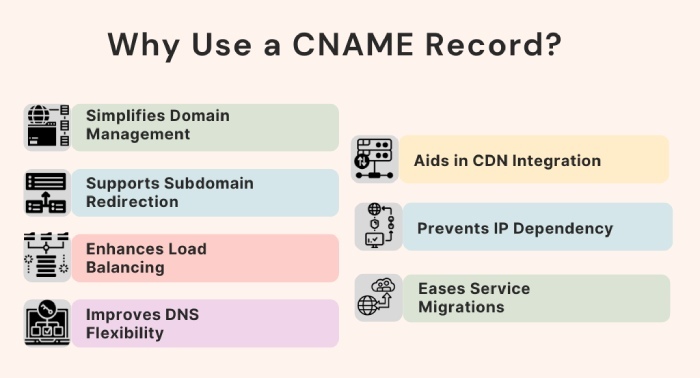
Hostname: selector1._domainkey
Points to address or value: selector1-yourdomain-com._domainkey.yourdomain.onmicrosoft.com
Hostname: selector2._domainkey
Points to address or value: selector2-yourdomain-com._domainkey.yourdomain.onmicrosoft.com
- Copy the details from the error dialog and click ‘OK.’
- Keep the domain details flyout open.
- In a new browser tab or window, go to your domain registrar’s platform and create two CNAME records using the copied information.
- Wait a few minutes to allow Microsoft to detect the newly added CNAME records.
- Return to the details flyout from step 5 and enable the ‘Sign messages for this domain with DKIM signatures’ toggle.
- A confirmation dialog box will appear—click ‘OK’ to close it.
- In the details flyout, verify the following:
- The ‘Sign messages for this domain with DKIM signatures’ toggle is now Enabled.
- The Status displays ‘Signing DKIM signatures for this domain.’
- The ‘Rotate DKIM keys’ option is now available and no longer grayed out.
- The ‘Last checked date’ has been updated from what you noted earlier.
Configuring DKIM for Microsoft can get confusing. Contact us for help.