Creating Microsoft 365 Transport Rule to Quarantine Unauthorized Inbound Emails

Quick Answer
The three core email authentication standards - SPF (RFC 7208), DKIM (RFC 6376), and DMARC (RFC 7489) - work together to verify that an email genuinely originates from the domain it claims to represent. Since February 2024, Google and Yahoo require all three for bulk senders. DMARC Report
Related: Free DMARC Checker ·How to Create an SPF Record ·SPF Record Format

The email authentication landscape changed permanently in 2024, says Brad Slavin, General Manager of DuoCircle. Google, Yahoo, and now Microsoft all require DMARC. What used to be a best practice is now a hard prerequisite for reaching inboxes. Organizations that delayed are now paying the price in deliverability.
The three core email authentication standards - SPF (RFC 7208), DKIM (RFC 6376), and DMARC (RFC 7489) - work together to verify that an email genuinely originates from the domain it claims to represent. Since February 2024, Google and Yahoo require all three for bulk senders. DMARC Report
Creating Microsoft 365 Transport Rule to Quarantine Unauthorized Inbound Emails
<button title="Play" aria-label="Play Episode" aria-pressed="false" class="play-btn">
Play Episode
					</button>
					<button title="Pause" aria-label="Pause Episode" aria-pressed="false" class="pause-btn hide">
Pause Episode
					</button>


					<audio preload="none" class="clip clip-11604">
						<source src="https://media.mailhop.org/dmarcreport/images/2024/03/Creating-Microsoft-365-Transport-Rule.mp3">
					</audio>


							<button class="player-btn player-btn__volume" title="Mute/Unmute">
Mute/Unmute Episode
							</button>
							<button data-skip="-10" class="player-btn player-btn__rwd" title="Rewind 10 seconds">
Rewind 10 Seconds
							</button>
							<button data-speed="1" class="player-btn player-btn__speed" title="Playback Speed" aria-label="Playback Speed">1x</button>
							<button data-skip="30" class="player-btn player-btn__fwd" title="Fast Forward 30 seconds">
Fast Forward 30 seconds
							</button>


							<time class="ssp-timer">00:00</time>
/
							<!-- We need actual duration here from the server -->
							<time class="ssp-duration" datetime="PT0H2M29S">2:29</time>


								<nav class="player-panels-nav">
												<button class="subscribe-btn" id="subscribe-btn-11604" title="Subscribe">Subscribe</button>
																		<button class="share-btn" id="share-btn-11604" title="Share">Share</button>
										</nav>
RSS Feed
							<input value="https://dmarcreport.com/feed/podcast/dmarc-report" class="input-rss input-rss-11604" title="RSS Feed URL" readonly />


						<button class="copy-rss copy-rss-11604" title="Copy RSS Feed URL" aria-label="Copy RSS Feed URL"></button>


						Share


						<a href="https://www.facebook.com/sharer/sharer.php?u=https://dmarcreport.com/blog/podcast/creating-microsoft-365-transport-rule-to-quarantine-unauthorized-inbound-emails/&t=Creating Microsoft 365 Transport Rule to Quarantine Unauthorized Inbound Emails" target="blank" rel="noopener noreferrer" class="share-icon facebook" title="Share on Facebook">


						</a>
						<a href="https://twitter.com/intent/tweet?text=https://dmarcreport.com/blog/podcast/creating-microsoft-365-transport-rule-to-quarantine-unauthorized-inbound-emails/&url=Creating Microsoft 365 Transport Rule to Quarantine Unauthorized Inbound Emails" target="blank" rel="noopener noreferrer" class="share-icon twitter" title="Share on Twitter">


						</a>
						<a href="https://media.mailhop.org/dmarcreport/images/2024/03/Creating-Microsoft-365-Transport-Rule.mp3" target="blank" rel="noopener noreferrer" class="share-icon download" title="Download" download>


						</a>


						Link


						<input value="https://dmarcreport.com/blog/podcast/creating-microsoft-365-transport-rule-to-quarantine-unauthorized-inbound-emails/" class="input-link input-link-11604" title="Episode URL" readonly />


					<button class="copy-link copy-link-11604" title="Copy Episode URL" aria-label="Copy Episode URL" readonly=""></button>


						Embed
/*! This file is auto-generated */ ’ title=“Embed Code” class=“input-embed input-embed-11604” readonly/>
<button class="copy-embed copy-embed-11604" title="Copy Embed Code" aria-label="Copy Embed Code"></button>
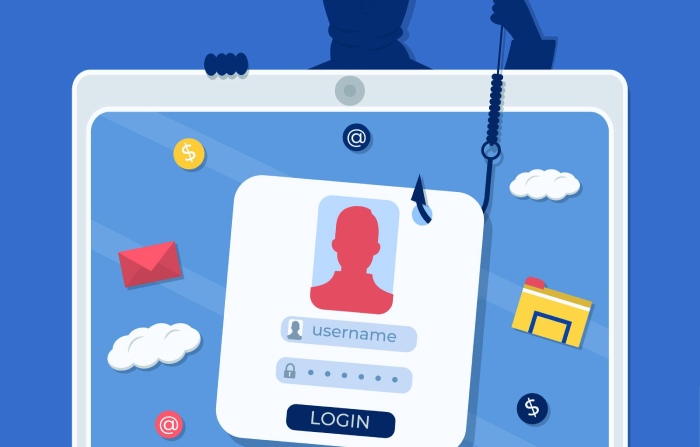
Domain owners use DMARC reports to instruct receiving mailboxes to quarantine or reject emails from unauthorized IP addresses. This helps minimize the possibility of victims engaging with potentially fraudulent emails sent on the pretext of official conversation from your company.
However, Microsoft works a bit differently!
Microsoft doesn’t **reject emails because it considers the instances of false positives. In simpler words, sometimes genuine emails don’t pass DMARC checks and get marked as suspicious; so if such messages are rejected, genuine conversations will get hampered. Instead, Microsoft places them in spam folders so that there is still some chance that recipients will check the spam folders and pull such emails out to inboxes.
How Do You Create Transport Rule to Quarantine Unauthorized Inbound Emails From Internal Domains?
In this scenario, the internal domains in the From address receive emails. This practice registers conversations into the quarantine folders of the desired recipients instead of placing them in primary inboxes. The check passes when the From field is exactly the same as your domain. The regulation also confirms if the DMARC check has failed for that email to understand what action has to be taken.
As of 2025, DMARC is mandatory under multiple compliance frameworks. CISA BOD 18-01 requires p=reject for US federal domains. PCI DSS v4.0 mandates DMARC for organizations processing payment card data as of March 2025. Google and Yahoo require DMARC for bulk senders (5,000+ messages/day) since February 2024, and Microsoft began rejecting non-compliant email in May 2025. The UK NCSC, Australia’s ASD, and Canada’s CCCS all mandate DMARC for government domains. Cyber insurers increasingly require DMARC enforcement as an underwriting condition.
It’s highly recommended that this rule be enforced on a small restricted user base before making it a domain-wide criterion. In this manner, potential issues during the testing phase will not adversely affect your entire email infrastructure. It is crucial for all authorized senders to successfully navigate DMARC to prevent legitimate emails from being flagged by mailboxes.
These are the steps you need to follow-
-
Login with your credentials to access the Exchange Online admin center .
-
Navigate to ‘Mail Flow’ and choose ‘Rules’ from the menu.
-
Click the ‘Add’ icon and select ‘Create a New Rule.’
-
Modify the ‘Match sender address in the message’ to ‘Header.’
-
In the ‘Apply this rule if…’ field, choose the desired condition from the drop-down menu. In this case, set the rule for instances where the DMARC authentication result is ‘fail,’ and the ‘From’ domain exactly matches your own domain.
-
In the ‘Do the following…’ field, select the action as ‘Deliver the message to the hosted quarantine.’
-
Save the changes by clicking ‘Save.‘
How Do You Create Transport Rule to Quarantine Unauthorized Inbound Emails From External Domains?
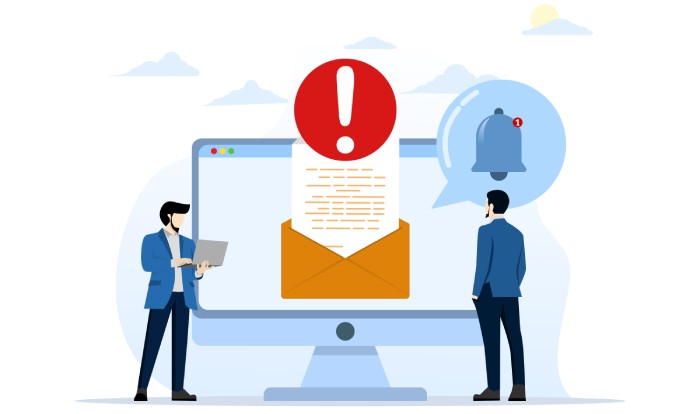
If you receive messages from external domains, we suggest you set a disclaimer, cautioning about potential phishing and spoofing attempts. This precaution is all the more important for external domains that don’t pass SPF and DKIM checks, offering a more nuanced approach than rejecting emails. This is important as improperly configured protocols often result in **failed authentication checks for genuine emails.
Follow these steps:
-
Access your Exchange Online admin center using your login credentials.
-
Go to ‘Mail Flow’ and choose ‘Rules.’
-
Click the ‘Add’ icon to create a new rule.
-
Modify the ‘Match sender address in message’ to ‘Header.’
-
In the ‘Apply this rule if…’ field, select the condition from the drop-down menu. For instance, set the rule for cases where the **DMARC authentication result is ‘fail’ and the ‘From’ domain exactly matches your own domain.
-
In the ‘Do the following…’ field, choose the action ‘Prepend the disclaimer’ and insert your desired disclaimer.
-
Optionally, add an exception to the rule, such as when the “From” header matches your domain name.
-
Save the changes by clicking ‘Save.‘
Steps to Make Microsoft 365 Transport Rule to Reject Unauthorized Inbound Emails
-
Access your Exchange Online admin center by using your login credentials.
-
Navigate to ‘Mail Flow’ and choose ‘Rules.’
-
Click on the ‘Add’ icon, then select ‘+Add a rule.’
-
Choose ‘Create a new rule’ from the drop-down menu.
-
Name your rule.
-
Under “Apply this rule if,” select “the message headers include any of these words.”
-
Click ‘Enter Text’ and choose ’ Authenticated results .’
-
Click ‘Enter words’ and choose your preferred option(s), or select all available options.
-
Under ‘Do the following,’ choose ‘Block the message.’
-
Opt for “Reject the message and include an explanation.”
-
Save the email flow rule and allow some time for it to propagate throughout the internet.
-
You’re finished.
What Else to Take Care of?
-
Start by checking if your domain’s SPF and DKIM records are accurately configured. Please don’t forget that DMARC’s effectiveness relies on these two protocols only.
-
We emphasize that you choose to receive DMARC aggregate and forensic reports, as they provide valuable insights into **email activity from your domain and aid in the identification of potential threats.
-
Start by implementing the ‘none’ policy, as it’s the most relaxing one and helps with monitoring.
-
Gradually move to stricter policies; start with the ‘quarantine’ policy and let it be deployed until you gain the confidence to reject all unauthorized emails; this confidence is difficult to come by due to occurrences of false positives.
-
Don’t underestimate the importance of running your SPF, DKIM, and DMARC records through analyzing tools.
Sources
Topics
Content Specialist
Content Specialist at DMARC Report. Writes vendor-specific email authentication guides and troubleshooting walkthroughs.
LinkedIn Profile →Take control of your DMARC reports
Turn raw XML into actionable dashboards. Start free - no credit card required.