Setting up Apple Business Mail using Apple Business Connect: A Guide

Do you use Apple Mail to send out business emails? We’ve got good news for you (and your brand). If you thought sending branded emails with Apple Mail was a far-fetched idea, things are about to change for you!
With the latest iOS 18.2 update, Apple is now allowing its users to send branded emails that carry their unique identity— brand logo, name, etc. from their domain. This new update is Apple’s attempt to prioritize security and make email authentication more accessible for businesses of all sizes.
This is a significant upgrade, especially if you’re a mobile marketer. This is not just another feature that focuses on personal branding but also about empowering you to take control of your email communication while mitigating the risk of phishing and spoofing attacks.
Let us dive deep into what iOS 18.2’s Branded Mail means for your email communications and how you can set up Apple Business Mail using Apple Business Connect.
What is Apple Branded Mail?
Apple Branded Mail is a new feature introduced by Apple in its latest iOS 18.2. This allows companies to include their verified logos in all emails sent out using Apple Mail, giving it a more professional and trustworthy appearance. It comes under the company’s Apple Business Connect, an application that is meant to guide businesses in controlling their presence in the Apple environment, such as Maps, Siri, Messages, and Mail. The feature was initially introduced to improve how businesses appear in Apple Maps, but now it includes tools to brand emails and make them stand out.
With Apple Branded Mail, businesses can create their own customized emails that reflect their brand identity, hence improving recognition and trust with every message. The business will set up DMARC, DKIM, and SPF for their domain and verify their logo through Apple Business Connect to get started. This feature only works on an Apple device but gives businesses better control of how their brands interact with the customers on the Apple platform.
Why do you need Branded Mail?
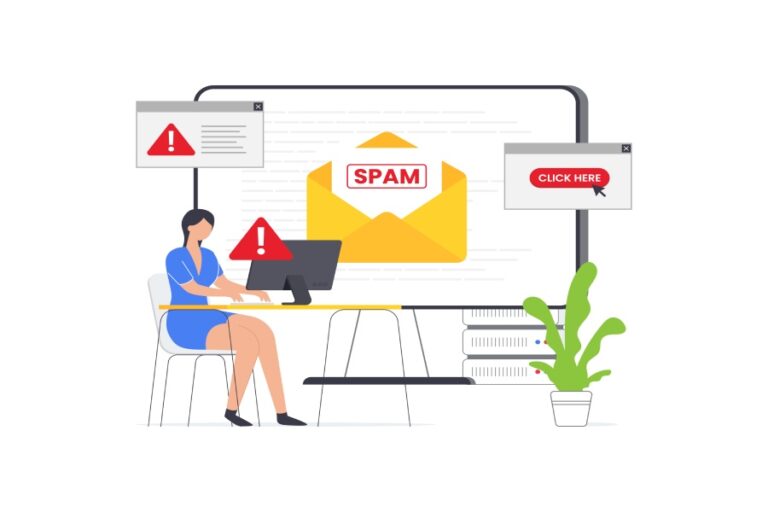
If you’re a marketer, you might be aware of the struggle to make your emails recognizable and trustworthy, especially when your users’ inboxes are flooded with promotional messages. Apple recognized this problem and introduced Branded Mail to help businesses stand out. With Branded Mail, you can add your verified logo and sender details to emails sent out through Apple Mail. This way, your emails look instantly familiar: something that can help your audience identify and trust your brand before even opening the message.
This feature not only adds a professional appeal to your outgoing emails but also assures recipients that they’re genuinely from your business, reducing the chances of phishing or spam concerns.
If this sounds familiar to you, it’s because it is similar to BIMI (Brand Indicators for Message Identification). Both Apple Branded Mail and BIMI aim to address the same challenges: making emails more recognizable and reducing the risk of phishing attacks. What sets them apart is that BIMI works across multiple email platforms, but Branded Mail is exclusive to the Apple ecosystem.

How to set up Apple Branded Mail?
The best part about Apple’s Branded Mail is that it is fairly easy to set up. You get your account up and running with only a few simple steps. Let’s take a look at them:
Configure DMARC
As you know, Apple’s Branded Mail is a step towards email security, so it only makes sense that you have your domain authenticated with DMARC. It’s not just about enabling authentication protocol; to use Apple’s latest feature, you should ensure that your DMARC policy is set to “quarantine” or “reject.” This helps prevent phishing attempts and ensures that only verified emails are sent from your domain.
Access Apple Business Connect
Next, log into your Apple Business Connect account with your Apple ID. If you don’t already have one, you will have to create one by visiting Apple Business Connect and adding all the necessary information about your business, like brand name, address, contact info, etc.
Add your brand’s logo
Once you have the Apple Business Connect account ready, the next step to verify your outgoing emails is to upload your brand’s logo on your account. This logo should meet the specific requirements set by Apple, which include
- The logo must be in JPG, PNG, or HEIF format
- It should be a minimum of 1024px and a maximum of 4864px
- The aspect ratio should be square
Add your domain
Next, you need to link your email-sending domain to Apple Business Connect. Apple will then verify your domain to ensure it matches the business information you have provided. That way, you can ensure your emails are authenticated and linked to your verified brand.
Verify your domain
After you have added your domain to Apple Business Connect, you will get a unique TXT record. Now, log in to your domain provider account and add this record to your DNS. Once done, go back to your Apple Business Connect account and click verify.
Submit your domain for verification
Once all steps are complete, submit your domain for the final verification. Apple will confirm that your domain, logo, and authentication protocols meet their standards. It usually takes 5-7 days to complete this process, after which you can send authenticated, secure, and branded emails to your clients.

A round-up of what’s new with Apple Branded Mail
Apple’s iOS 18.2 introduces one of the most interesting features, and it is called Branded Mail. With this feature, businesses will be able to add verified logos to Apple Mail, making emails look more authentic, professional, and trustworthy.
To get the most out of this feature, your business will require:
- DMARC policy that is set up to “quarantine” or “reject.”
- Well-configured DKIM and SPF records
- An Apple Business Connect account with a verified logo
In essence, Apple Branded Mail is much like BIMI, but what’s different between the two is that Apple Branded Mail only works with Apple systems, while BIMI is a feature that is used across most platforms.