What is the right way to split DKIM keys?

Quick Answer
DKIM (RFC 6376) signs email messages cryptographically, and unlike SPF, the signature survives email forwarding - which is why DMARC alignment via DKIM is more reliable than SPF alignment for forwarded mail and mailing lists. DMARC Report What is the right way to split DKIM keys?
Related: Free DMARC Checker ·How to Create an SPF Record ·SPF Record Format

Try Our Free DKIM Lookup
Auto-discover DKIM selectors for any domain - scan 185 common selectors across all major providers.
Discover DKIM Selectors →
The organizations that invest in email authentication early save themselves from expensive incidents later, says Vasile Diaconu, Operations Lead at DuoCircle. We see the pattern constantly: a domain gets spoofed, customers lose trust, and the remediation effort costs 10x what proactive DMARC setup would have cost.
DKIM (RFC 6376) signs email messages cryptographically, and unlike SPF, the signature survives email forwarding - which is why DMARC alignment via DKIM is more reliable than SPF alignment for forwarded mail and mailing lists. DMARC Report
What is the right way to split DKIM keys?
<button title="Play" aria-label="Play Episode" aria-pressed="false" class="play-btn">
Play Episode
					</button>
					<button title="Pause" aria-label="Pause Episode" aria-pressed="false" class="pause-btn hide">
Pause Episode
					</button>


					<audio preload="none" class="clip clip-17557">
						<source src="https://media.mailhop.org/dmarcreport/images/2024/10/What-is-the-right-way-to-split-DKIM-keys.mp3">
					</audio>


							<button class="player-btn player-btn__volume" title="Mute/Unmute">
Mute/Unmute Episode
							</button>
							<button data-skip="-10" class="player-btn player-btn__rwd" title="Rewind 10 seconds">
Rewind 10 Seconds
							</button>
							<button data-speed="1" class="player-btn player-btn__speed" title="Playback Speed" aria-label="Playback Speed">1x</button>
							<button data-skip="30" class="player-btn player-btn__fwd" title="Fast Forward 30 seconds">
Fast Forward 30 seconds
							</button>


							<time class="ssp-timer">00:00</time>
/
							<!-- We need actual duration here from the server -->
							<time class="ssp-duration" datetime="PT0H2M12S">2:12</time>


								<nav class="player-panels-nav">
												<button class="subscribe-btn" id="subscribe-btn-17557" title="Subscribe">Subscribe</button>
																		<button class="share-btn" id="share-btn-17557" title="Share">Share</button>
										</nav>
RSS Feed
							<input value="https://dmarcreport.com/feed/podcast/dmarc-report" class="input-rss input-rss-17557" title="RSS Feed URL" readonly />


						<button class="copy-rss copy-rss-17557" title="Copy RSS Feed URL" aria-label="Copy RSS Feed URL"></button>


						Share


						<a href="https://www.facebook.com/sharer/sharer.php?u=https://dmarcreport.com/blog/podcast/what-is-the-right-way-to-split-dkim-keys/&t=What is the right way to split DKIM keys?" target="blank" rel="noopener noreferrer" class="share-icon facebook" title="Share on Facebook">


						</a>
						<a href="https://twitter.com/intent/tweet?text=https://dmarcreport.com/blog/podcast/what-is-the-right-way-to-split-dkim-keys/&url=What is the right way to split DKIM keys?" target="blank" rel="noopener noreferrer" class="share-icon twitter" title="Share on Twitter">


						</a>
						<a href="https://media.mailhop.org/dmarcreport/images/2024/10/What-is-the-right-way-to-split-DKIM-keys.mp3" target="blank" rel="noopener noreferrer" class="share-icon download" title="Download" download>


						</a>


						Link


						<input value="https://dmarcreport.com/blog/podcast/what-is-the-right-way-to-split-dkim-keys/" class="input-link input-link-17557" title="Episode URL" readonly />


					<button class="copy-link copy-link-17557" title="Copy Episode URL" aria-label="Copy Episode URL" readonly=""></button>


						Embed
/*! This file is auto-generated */ ’ title=“Embed Code” class=“input-embed input-embed-17557” readonly/>
<button class="copy-embed copy-embed-17557" title="Copy Embed Code" aria-label="Copy Embed Code"></button>
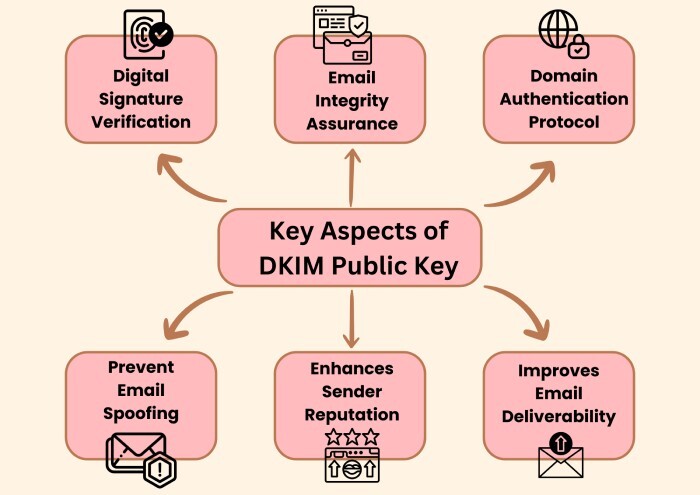
DNS limitations sometimes require splitting DKIM keys. Splitting keys helps ensure compatibility with DNS limitations, especially when dealing with long keys that offer stronger security. Usually, DKIM keys are split at the time of initial configuration if they exceed the DNS length limits. Most DNS providers impose a limit of 255 characters per line, so if your key exceeds this limit, it will fail to fit in the TXT record as a single string.
Another reason why splitting DKIM keys is suggested is that if you try to insert a very long key without splitting it, a few DNS providers may truncate the data or produce errors. Splitting ensures that the entire key is intact and readable by DNS resolvers for validation . To enhance email security and prevent spoofing, it’s essential to properly configure DKIM by splitting long keys into manageable segments**, ensuring they fit within DNS limitations and work seamlessly with SPF and DMARC for comprehensive email authentication.
When to split DKIM keys?
Here are the cases in which you may need to split DKIM keys:
Using a 2048-bit or longer key
Any key shorter than 2048-bit is considered weak. So, if you also use a 2048-bit or longer key, you will have to split it as it surpasses DNS TXT record character limits.
If you receive an error from your DNS provider
If you have added a long key as a single string, there are high chances of errors. If your provider alerts you of character limitations or data truncation, splitting the key is not just necessary but urgent to prevent potential issues.
Testing reveals issues in the DKIM configuration
If **DKIM lookup tools show problems setting up DKIM, there is a possibility of a truncated or incorrectly formatted key in your DNS. In such cases, splitting the key is encouraged.

High-security needs in your domain’s email authentication
Organizations handling sensitive data or high-volume email traffic often require strong **DKIM authentication to prevent spoofing. In such cases, using a longer key is essential, and splitting becomes part of the setup.
Steps to split DKIM keys
-
Step 1: Use a tool to generate a DKIM key pair. This will produce a private key (used by your mail server) and a public key (added to your DNS).
-
Step 2: Format the public key. A typical DKIM public key starts with v=DKIM1; k=rsa; p= , followed by a long string representing the public key. The key after p= can be very long, often exceeding DNS provider limits, so it must be split.
-
Step 3: Split the key by dividing the p= value into smaller chunks, making sure each chunk adheres to your DNS provider’s character limit. You can do this by cutting the key into segments at convenient points (avoid splitting in the middle of a character pair if possible).
-
Step 4: Place each **chunk in quotation marks and add line breaks between each chunk in your DNS settings.
Example:
v=DKIM1; k=rsa; p="MIGfMA0GCSqGSIb3DQEBAQUAA4GNADCBiQKBgQC3/o5a/oFE""AXV6Y9WVB13eXdPd7RtyBLAtYj3UeS9fZ2YxNs6y0vUKF4rzL""jXpvlpclBG1QgDFe/lJkzW+mG/gFJLZf4BBSdjFhJxdyHb7Yp""ITm+m2EvLUuoOnYeYyU9lkUjiJBLRe0CRHsp7iKrmiU+AiFYk""MfuBAozv0QIDAQAB"
Each line here is within the character limits and enclosed in quotes. When saved, it should **automatically reassemble into the full [DKIM key](https://dmarcreport.com/blog/setting-dkim-keys-for-salesforce/) for verification.
- Step 5: Use a tool like dig or check your domain’s DKIM configuration using online checkers to ensure the key has been added correctly and is readable as a single, concatenated key.
Following these steps ensures your DKIM key fits within **DNS limitations and remains effective for email authentication.
Topics
General Manager
Founder and General Manager of DuoCircle. Product strategy and commercial lead for DMARC Report's 2,000+ customer base.
LinkedIn Profile →Take control of your DMARC reports
Turn raw XML into actionable dashboards. Start free - no credit card required.